Homemade Lemon Bisque
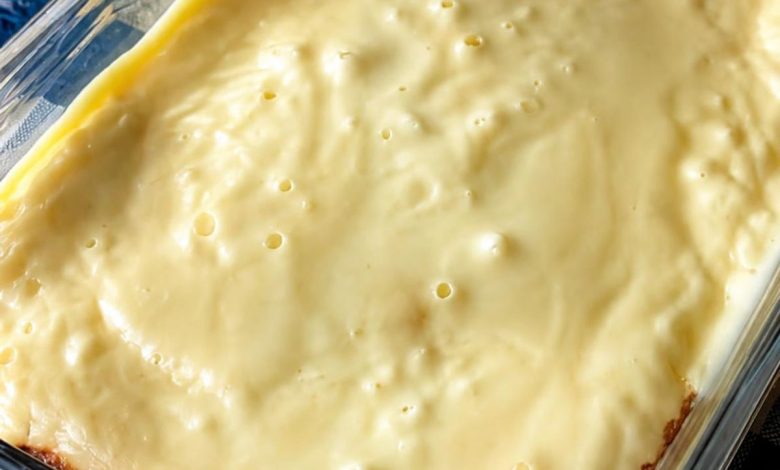
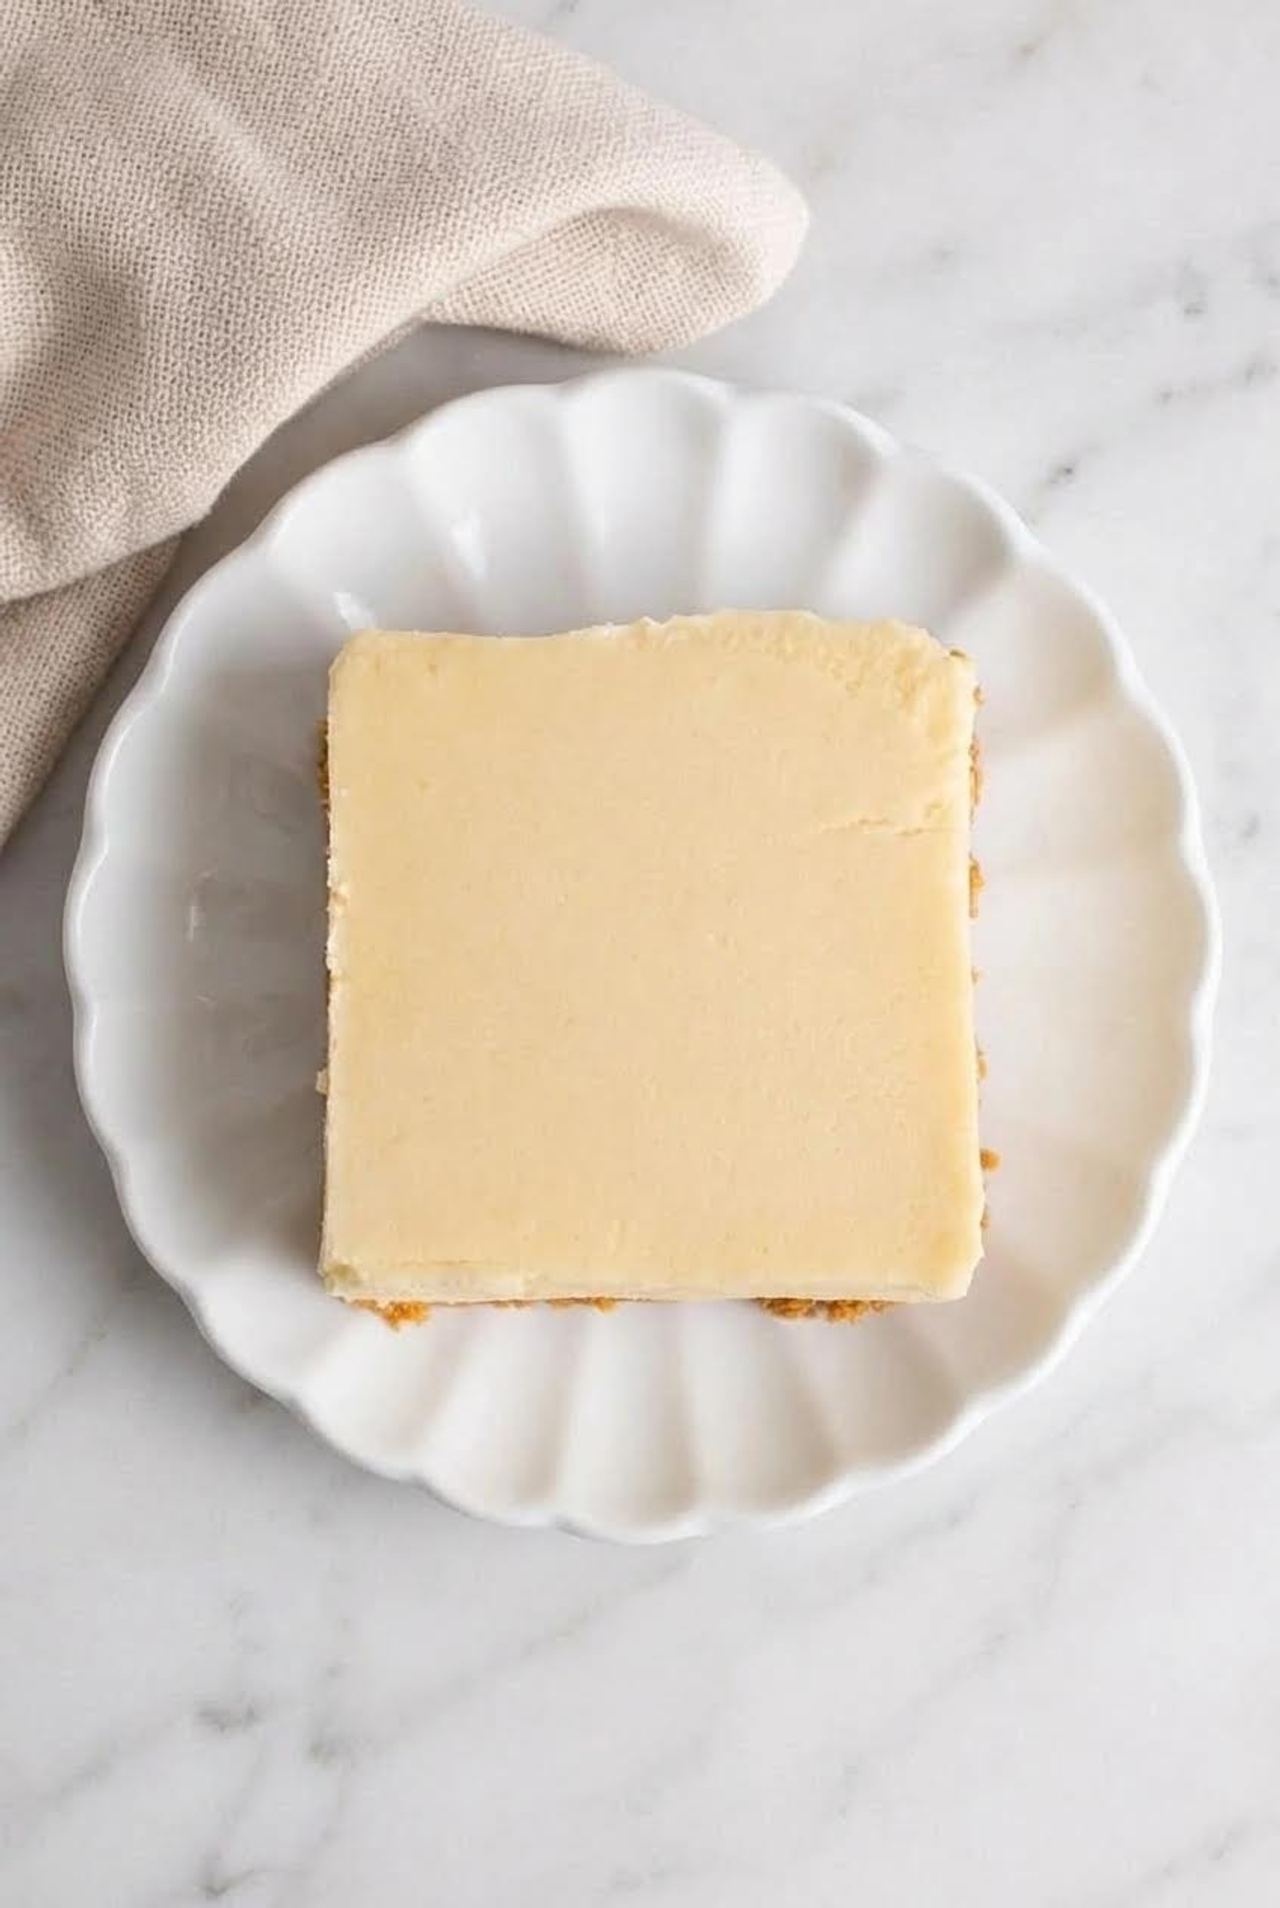
Homemade Lemon Bisque is one of those old-fashioned desserts that feels almost too simple for how good it is. It’s light, creamy, softly set, and full of bright lemon flavor, with a sweet layer of graham cracker crumbs adding just enough texture.
Unlike a traditional cooked bisque, this version is a chilled dessert made with lemon gelatin and whipped evaporated milk. The milk becomes surprisingly airy when beaten cold, giving the finished dessert a fluffy, almost mousse-like texture.
It’s especially nice when you want something refreshing after a heavier meal. I’d serve it after a Sunday dinner, a holiday meal, or a summer gathering when a rich cake or pie feels like too much.
There’s also something wonderfully nostalgic about this recipe. It’s the kind of dessert that can be made ahead, cut into neat squares, and kept chilled until everyone’s ready for something sweet.
Why It Works
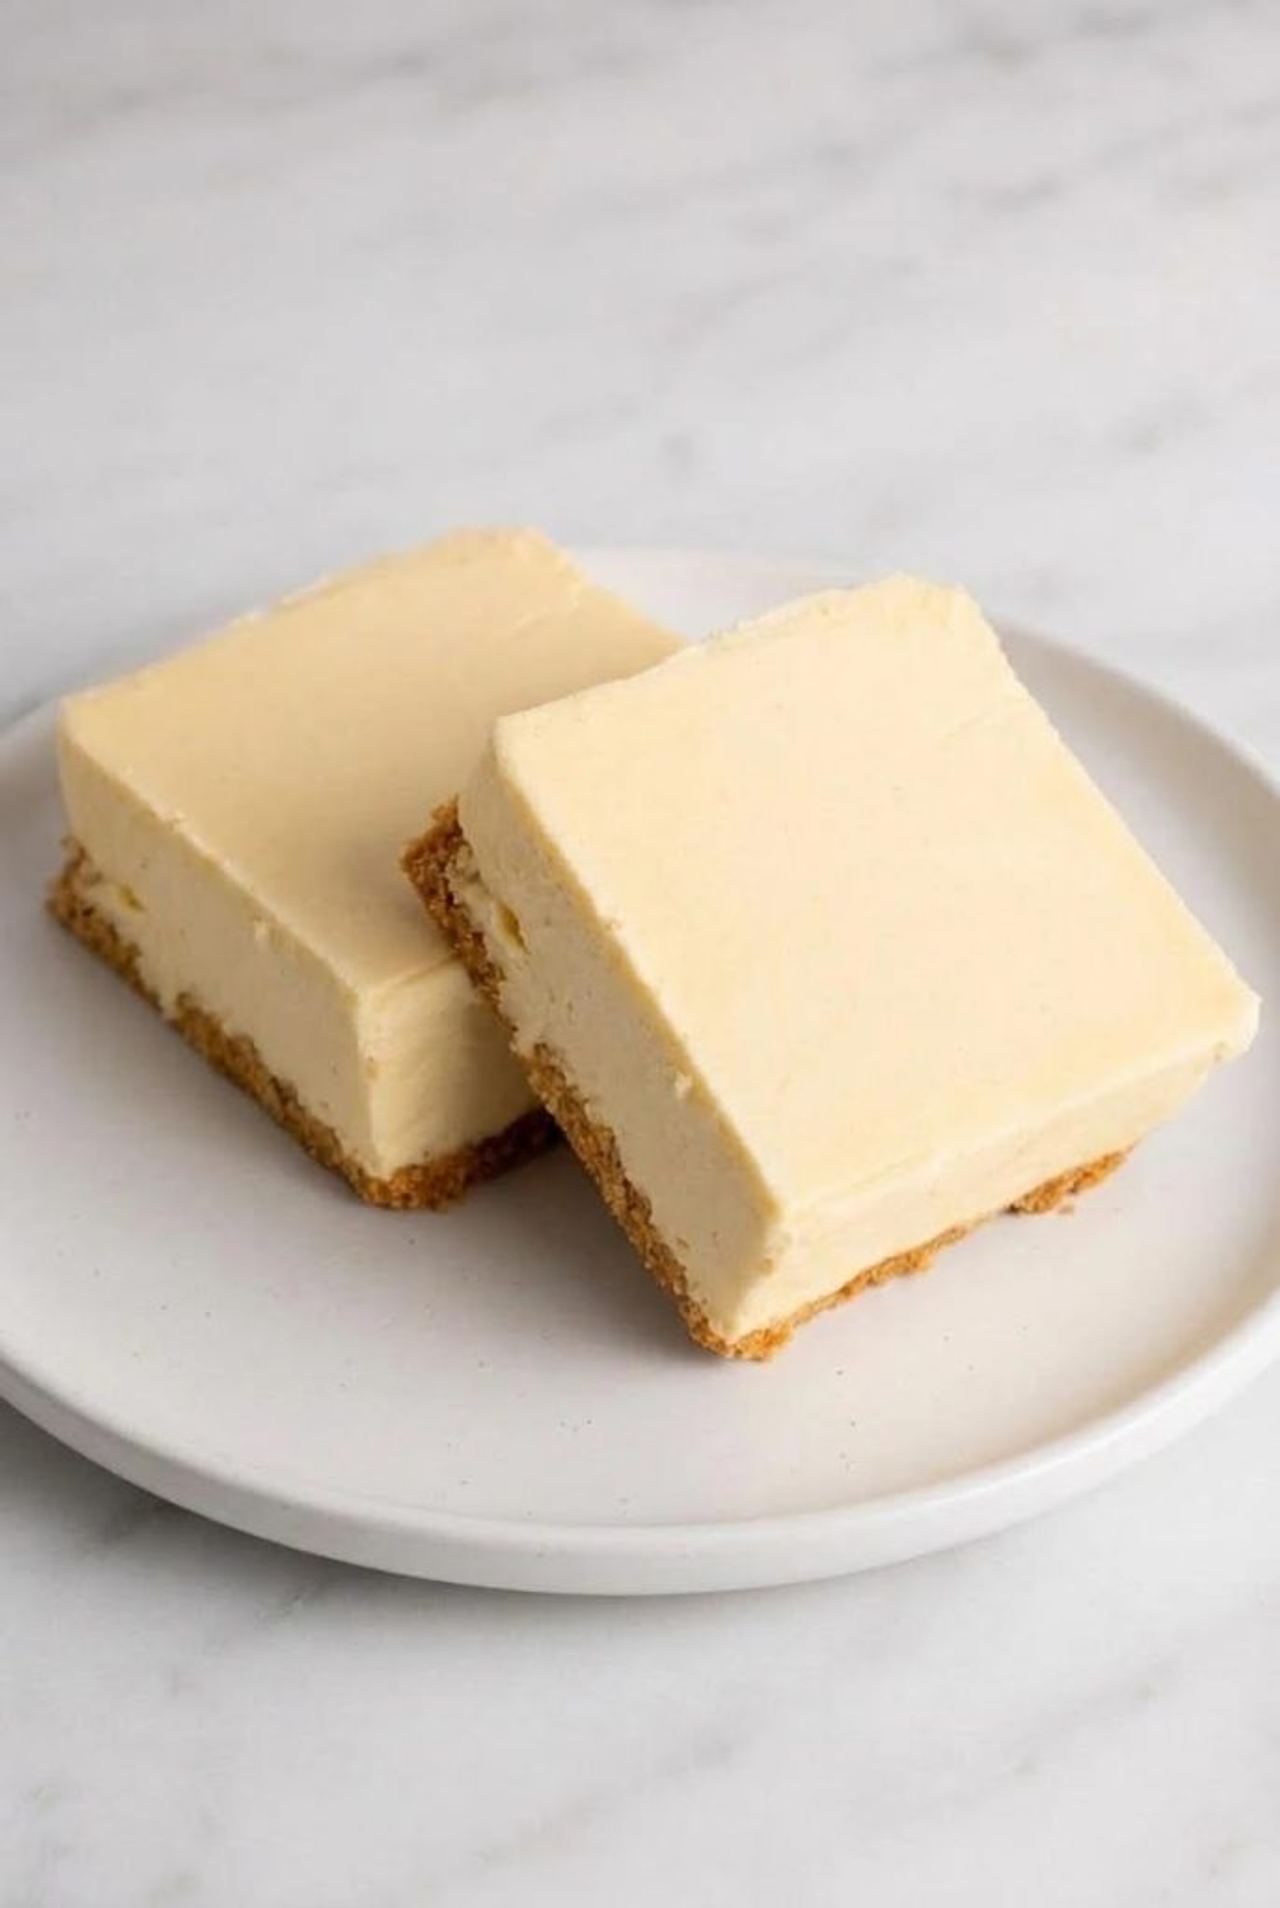
The combination of tart lemon and sweetened gelatin keeps the dessert bright rather than heavy. Chilled evaporated milk gives it plenty of volume without making it taste overly rich, while the graham cracker crumbs bring a little buttery crunch to an otherwise very soft dessert.
The important part is getting the gelatin to the right stage before combining it with the whipped milk. It should be partially set and thick enough to hold some body, but still soft enough to blend smoothly. If it’s completely firm, it won’t incorporate as evenly.
Ingredients You’ll Need
Evaporated Milk
Use full-fat evaporated milk and chill it overnight. It needs to be very cold to whip properly; this is what gives the Lemon Bisque its characteristic light texture.
Lemon Gelatin
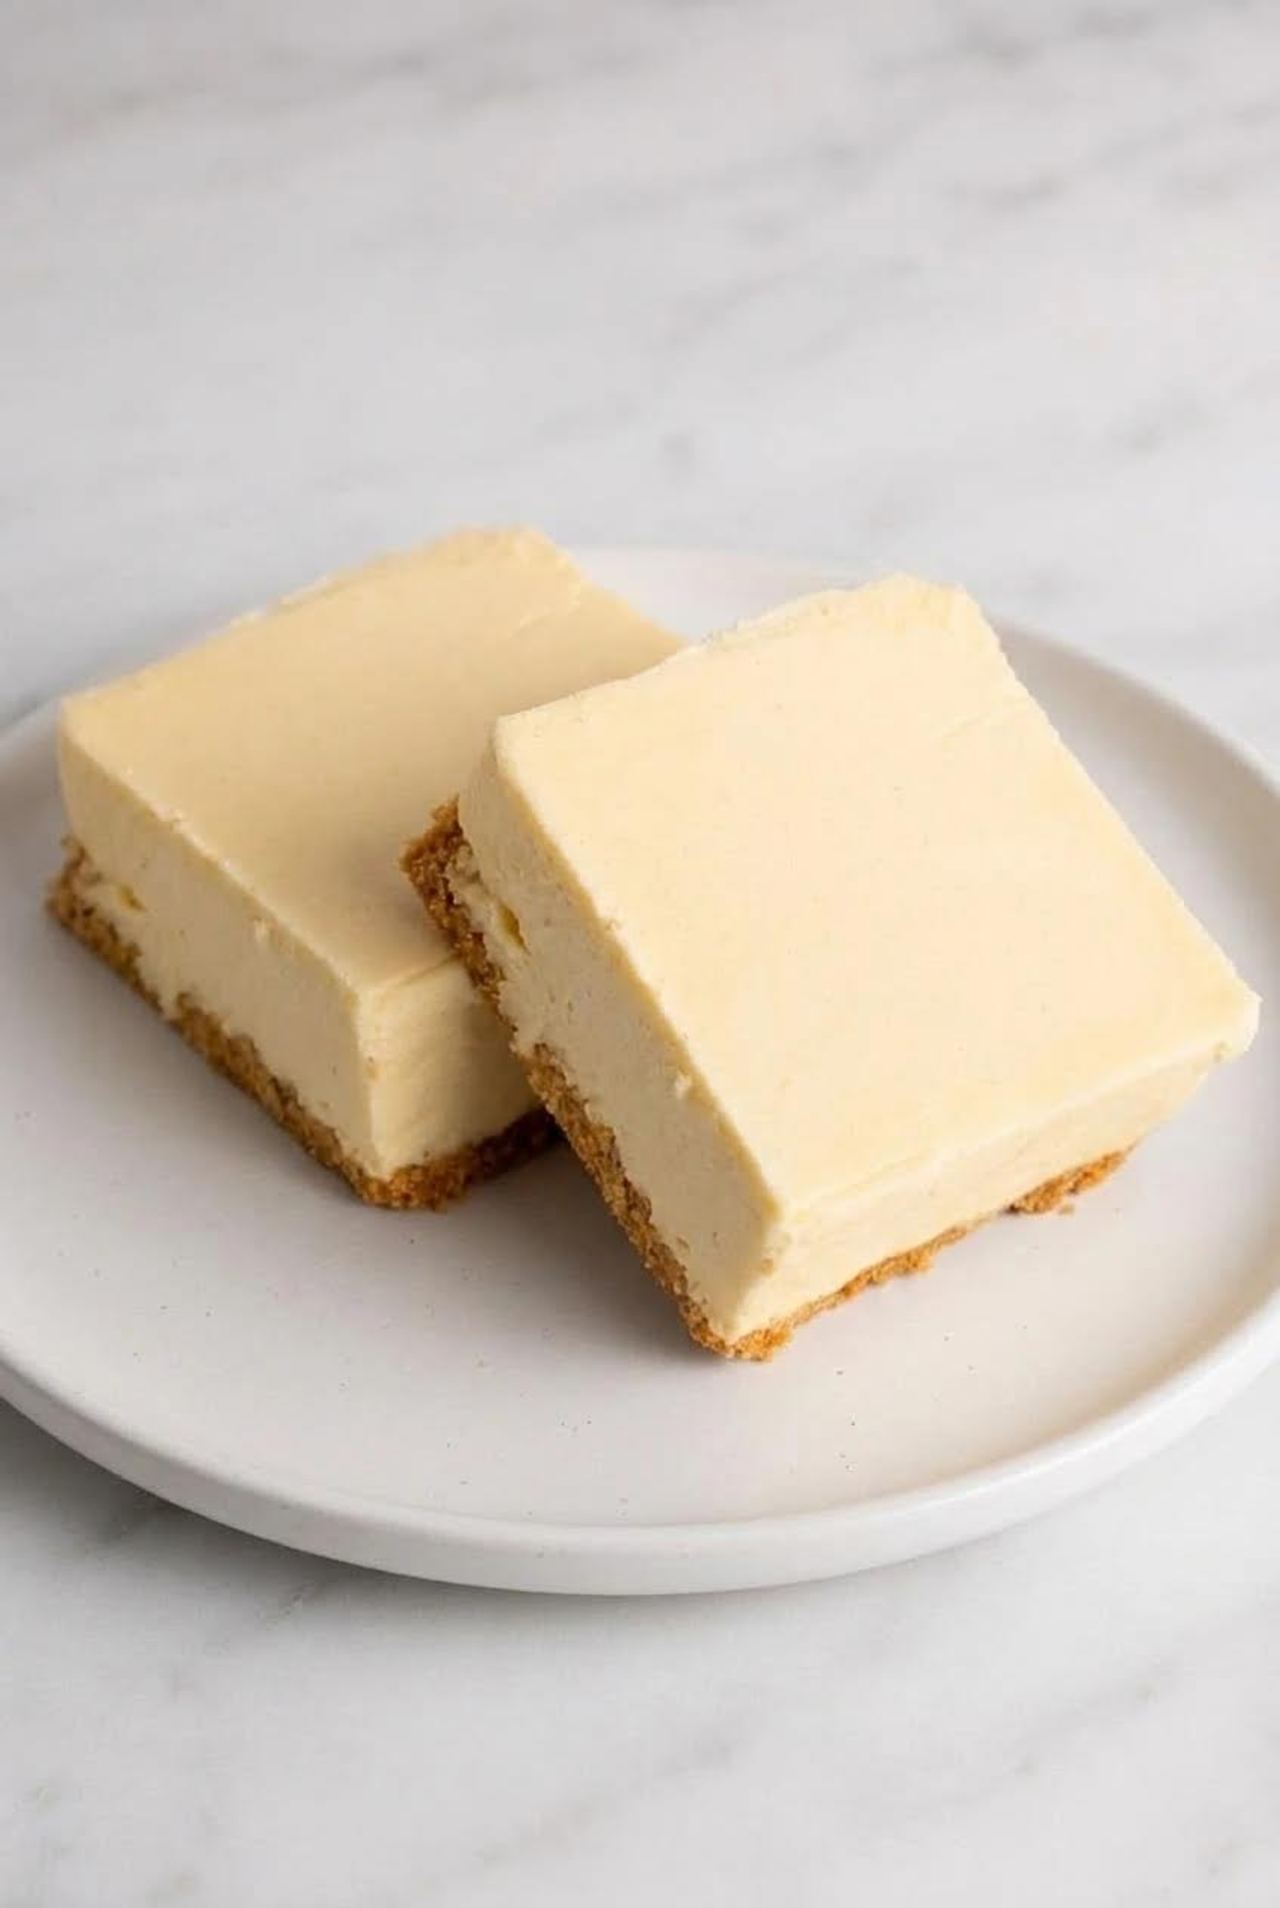
A 3-ounce package of lemon-flavored gelatin provides both lemon flavor and structure. Make sure it dissolves completely in the boiling water before chilling it.
Fresh Lemon Juice
Fresh lemon juice adds a sharper, more natural citrus flavor that balances the sweetness of the gelatin and sugar.
Graham Cracker Crumbs
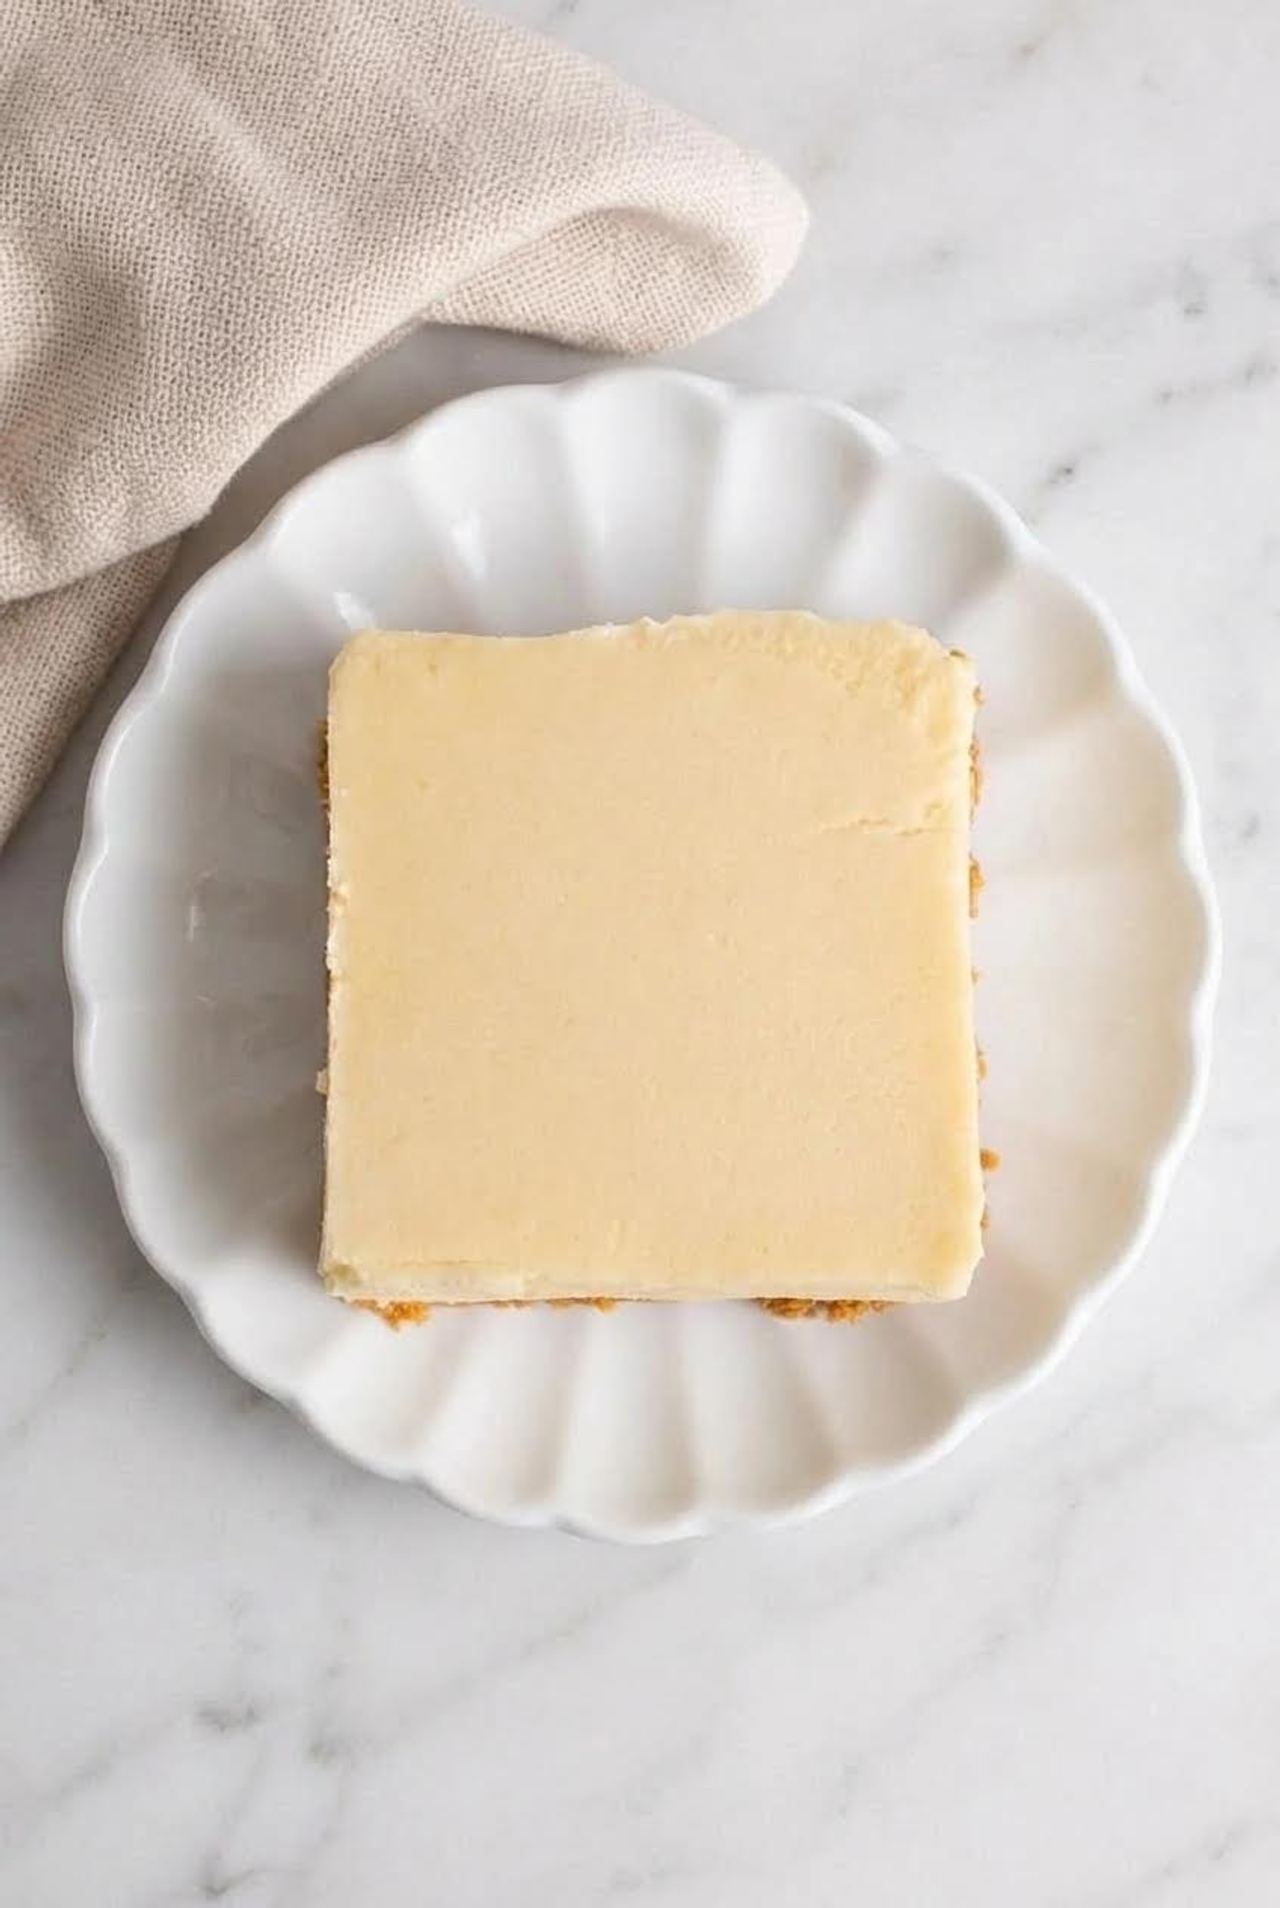
Graham crackers make a simple crumb layer on the bottom and another layer over the top. Crush them fairly finely so they’re easy to scoop with the soft filling.
Sugar
Granulated sugar sweetens the lemon mixture. You can adjust it slightly if you prefer a more tart dessert, but don’t reduce it too much or the lemon can become quite sharp.
How To Make Homemade Lemon Bisque
1. Chill The Evaporated Milk
Place the unopened can of evaporated milk in the refrigerator the night before you make the dessert. It should be thoroughly chilled before whipping.
For an even colder bowl, you can chill your mixing bowl and beaters for a few minutes before starting.
2. Prepare The Lemon Mixture
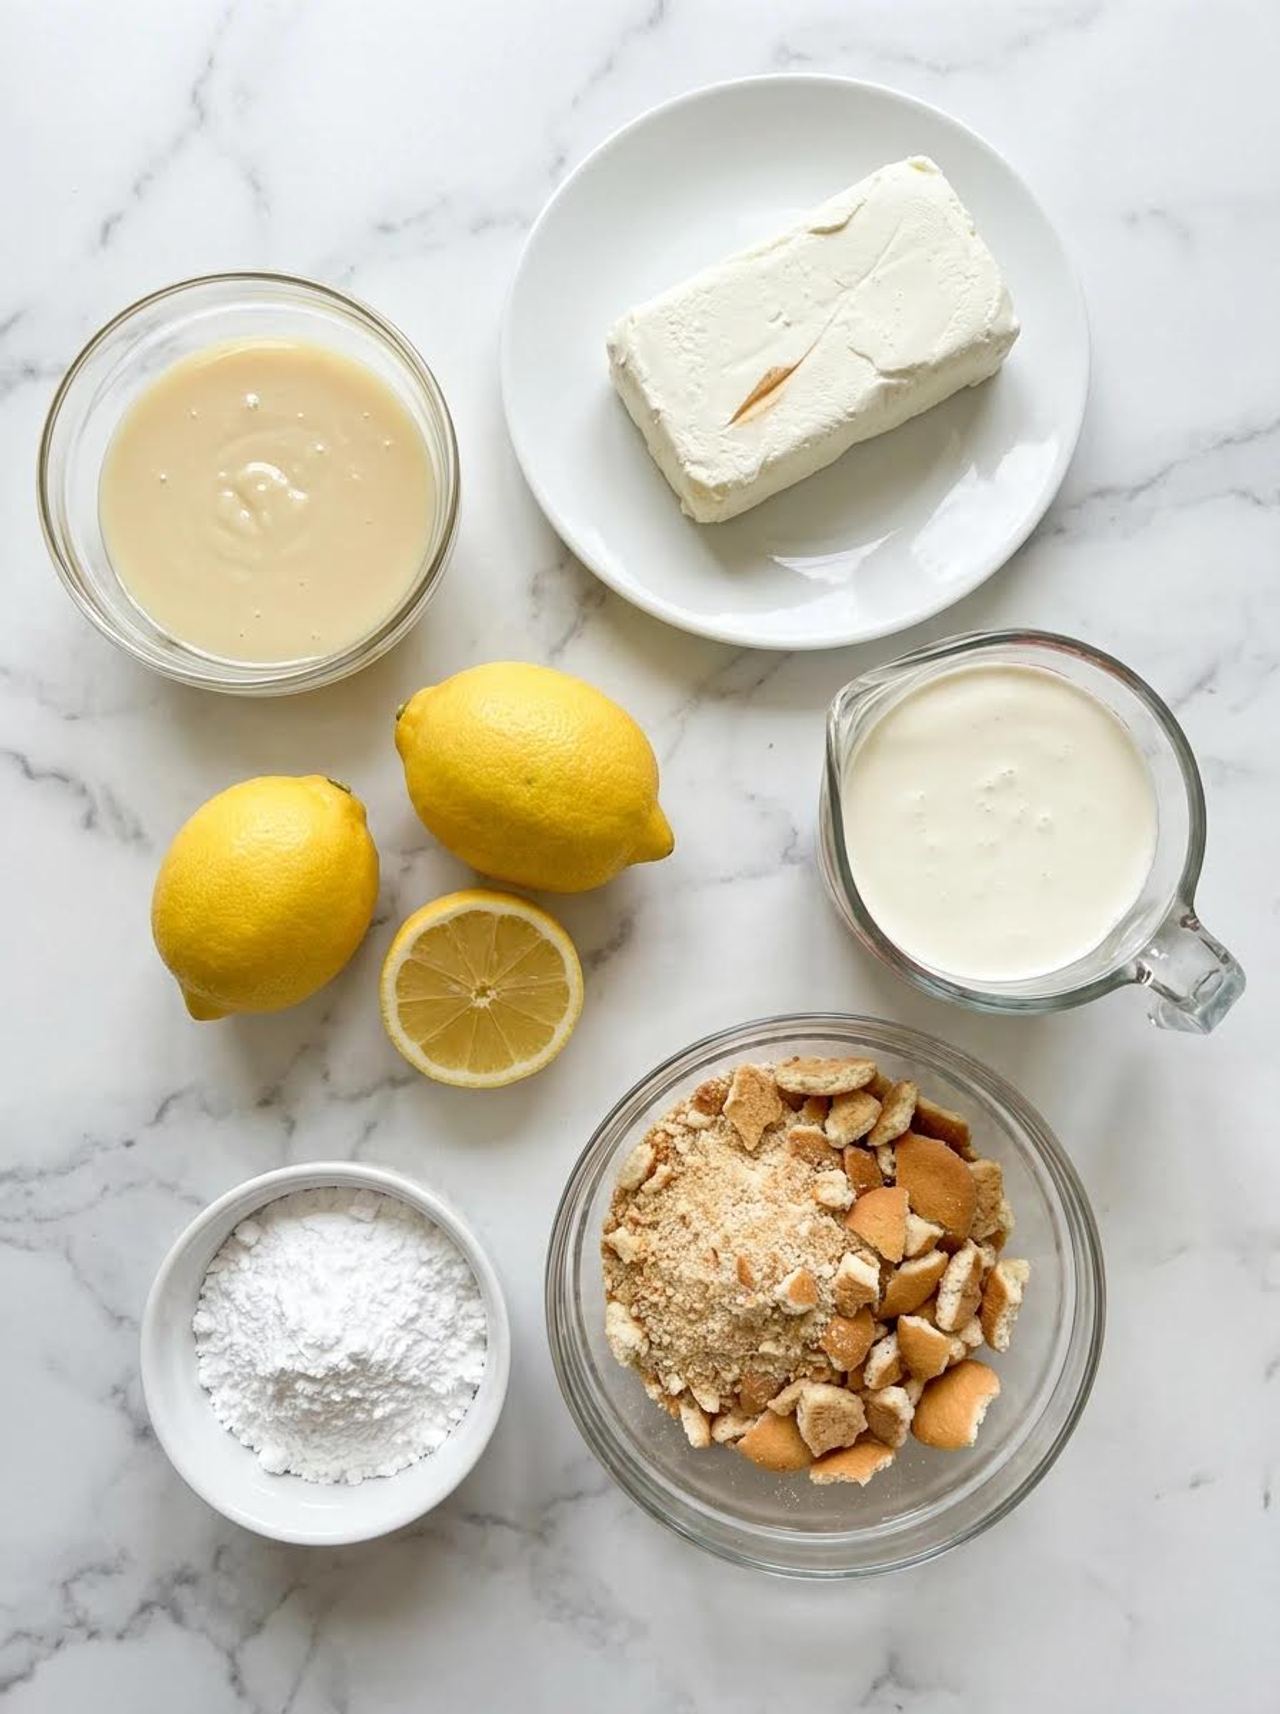
Pour 1 ¾ cups boiling water into a bowl and stir in one 3-ounce package of lemon gelatin until completely dissolved.
Add 1 cup granulated sugar and ¼ cup fresh lemon juice, stirring until the sugar has dissolved. Place the mixture in the refrigerator until it becomes partially set and noticeably thickened, but not firm. This usually takes about 1 to 2 hours depending on your refrigerator.
3. Whip The Gelatin Mixture
Once thickened, beat the lemon mixture with an electric mixer until it becomes lighter and fluffy. It shouldn’t look like a firm gelatin dessert anymore; you’re looking for a soft, airy consistency.
4. Whip The Evaporated Milk
Pour the thoroughly chilled evaporated milk into a separate large bowl. Beat it with an electric mixer until it becomes thick and fluffy and has increased significantly in volume.
This can take several minutes, so don’t worry if it looks thin at first.
5. Combine Everything Gently
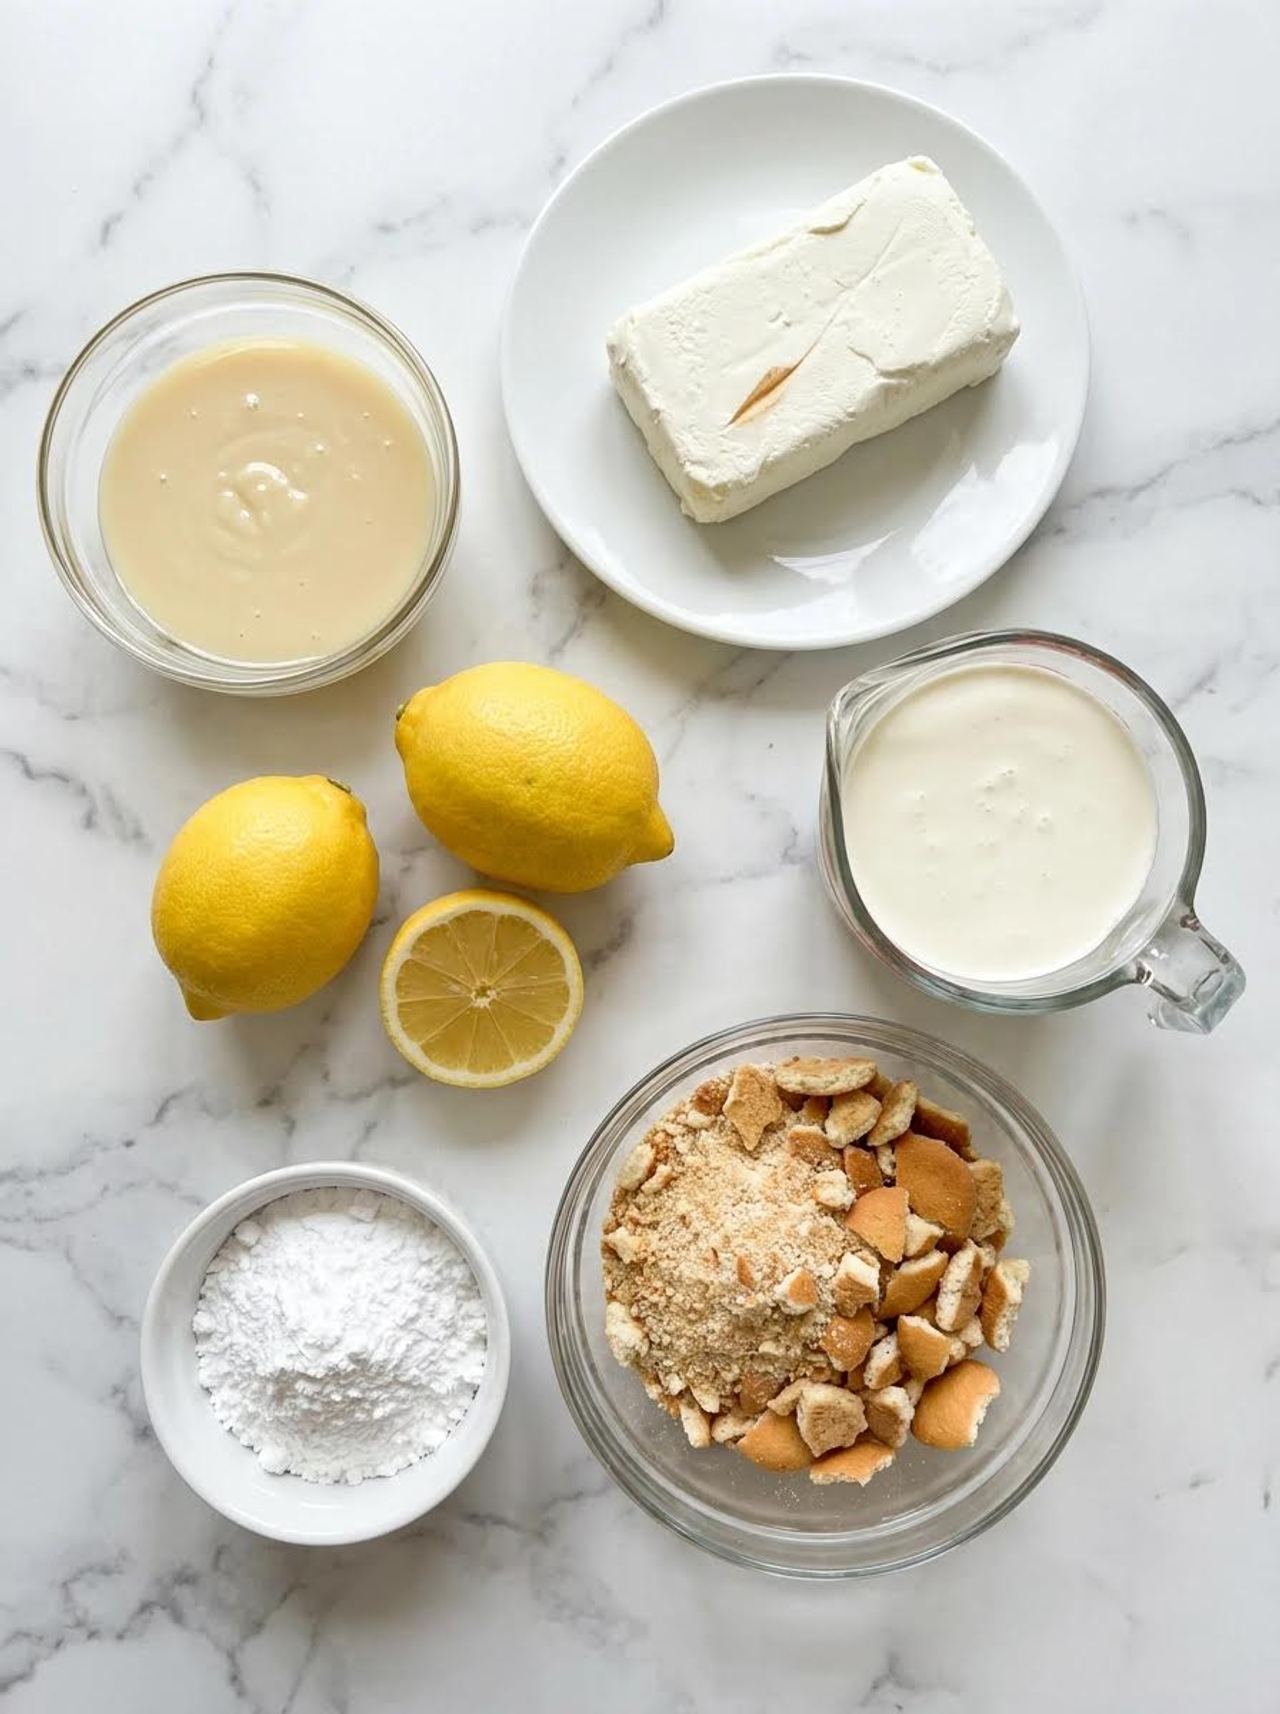
Fold the whipped evaporated milk into the fluffy lemon mixture. Work gently with a spatula so you don’t knock out all the air you’ve just incorporated.
The finished mixture should be pale, airy, and thick enough to spoon rather than pour like a liquid.
6. Layer And Chill
Spread about half of the 2 ½ cups graham cracker crumbs evenly over the bottom of a 9×13-inch dish.

Carefully spoon the lemon mixture over the crumbs. Pour slowly so the filling doesn’t push the crumbs around.
Sprinkle the remaining crumbs over the top, then refrigerate for at least 4 to 5 hours, or preferably overnight, until the dessert is completely set and easy to cut.
FAQs
Can I Make Lemon Bisque The Day Before?
Yes. In fact, it’s an excellent make-ahead dessert. Refrigerating it overnight gives the filling plenty of time to set and makes slicing easier.

Why Won’t My Evaporated Milk Whip?
The milk needs to be very cold. If it isn’t thoroughly chilled, it may stay thin instead of becoming fluffy. Chill the unopened can overnight and use a cold mixing bowl if possible.
Can I Use Bottled Lemon Juice?
Fresh lemon juice is preferable because it gives the dessert a cleaner, brighter flavor. Bottled juice will work in a pinch, but fresh lemon makes a noticeable difference in a simple recipe like this.
Can I Use Vanilla Wafers Instead Of Graham Crackers?

Absolutely. Finely crushed vanilla wafers make a slightly sweeter, more delicate crumb layer and are used in several traditional versions of Lemon Bisque.
How Do I Know The Gelatin Is Ready?
It should be partially congealed and thick, but not fully firm. If you stir it and it moves slowly while still remaining spoonable, it’s ready to whip.
Can I Freeze Lemon Bisque?
I recommend keeping it refrigerated rather than freezing it. Freezing can change the airy texture of the whipped milk and make the crumbs softer once thawed.

Recipe Variations
Use Vanilla Wafer Crumbs
Replace the graham cracker crumbs with finely crushed vanilla wafers for a sweeter, more cake-like flavor.
Add Lemon Zest
For a stronger fresh-lemon flavor, add the finely grated zest of one lemon to the gelatin mixture along with the lemon juice.

Try A Lime Version
Use lime gelatin and fresh lime juice instead of lemon for a bright lime bisque with the same light, fluffy texture.
Add A Whipped Cream Topping
Once the dessert is fully chilled, add a small spoonful of lightly sweetened whipped cream to each serving. A little extra lemon zest on top is also lovely.
Make Individual Servings

Instead of using one large dish, divide the crumbs and filling among small glasses or dessert cups. Chill them until firm and serve straight from the refrigerator.
Storage
Cover the dish tightly and refrigerate Lemon Bisque for up to 3 days. Keep it cold until serving, since the filling is soft and airy at room temperature. For the cleanest slices, use a sharp knife and wipe it between cuts.
What To Serve With Homemade Lemon Bisque
Lemon Bisque is light enough to finish a substantial meal without feeling heavy, so I like serving it after roasted chicken, baked ham, grilled fish, or a Sunday dinner with plenty of savory sides. It also works beautifully with fresh berries, strawberries, raspberries, or a few thin lemon slices for a simple summer dessert plate. A cup of hot coffee or tea alongside it is all you really need.

Give the gelatin enough time to partially set before whipping it, and don’t rush the final chilling stage. Those two details make the biggest difference in getting the soft, fluffy texture this old-fashioned dessert is known for.
For the neatest presentation, make it the day before you plan to serve it. The extra chilling time allows the layers to firm up while keeping the filling light and creamy.
This Homemade Lemon Bisque is a creamy, comforting soup with a bright lemon flavor and a silky-smooth texture. It’s an easy, refreshing recipe that makes a cozy appetizer or light meal any day of the week.
Prep Time: 10 minutes
Cook Time: 20 minutes

Total Time: 30 minutes
Servings: 6
Ingredients
- 4 tablespoons unsalted butter
- 1 small yellow onion, finely diced
- 2 cloves garlic, minced
- 3 tablespoons all-purpose flour
- 3 cups chicken or vegetable broth
- 1 cup heavy cream
- ½ cup whole milk
- ⅓ cup freshly squeezed lemon juice
- 1 tablespoon finely grated lemon zest
- 1 teaspoon honey or granulated sugar
- ½ teaspoon salt, plus more to taste
- ¼ teaspoon black pepper
- ¼ teaspoon dried thyme
- 2 tablespoons grated Parmesan cheese, optional
- Fresh parsley or additional lemon zest, for garnish
Instructions
- Sauté the aromatics: Melt the butter in a large saucepan over medium heat. Add the diced onion and cook for 4–5 minutes, until softened. Stir in the garlic and cook for another 30 seconds.
- Make the roux: Sprinkle the flour over the onion mixture and whisk continuously for about 1 minute. The flour should be lightly cooked without becoming brown.
- Add the broth: Gradually pour in the broth while whisking to prevent lumps. Bring the mixture to a gentle simmer and cook for 5–7 minutes, stirring occasionally, until slightly thickened.
- Add the dairy: Reduce the heat to low. Stir in the heavy cream and milk. Warm gently for 3–4 minutes without allowing the bisque to boil.
- Add the lemon: Remove the saucepan from the heat. Stir in the lemon juice, lemon zest, honey, salt, black pepper, and thyme. Add Parmesan if using.
- Blend until smooth: For an extra-silky bisque, carefully blend with an immersion blender until completely smooth. You can also transfer it to a regular blender in batches.
- Taste and adjust: Taste the bisque and add a little more lemon juice, salt, or honey depending on how bright or creamy you want the flavor.
- Serve: Ladle into bowls and garnish with fresh parsley and a little lemon zest. Serve immediately while warm.
Read more stories
- Fans Said Suri Cruise Looked Like ‘Female Version Of Tom Cruise’ When She Was 17 — How She Changed Throughout the Years
- Easy Banana Bread {recipe}
- I Picked up a Freezing Man on the Highway – A Few Days Later, We Saw Each Other in Court
- Meet Paul Michael Glaser’s Lookalike Son Who Survived After Losing His Mom and Sister to AIDS