Homemade Strawberry Jam
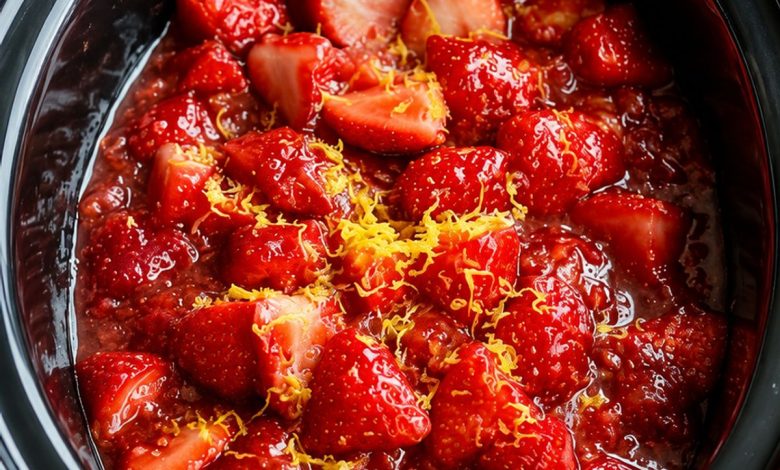
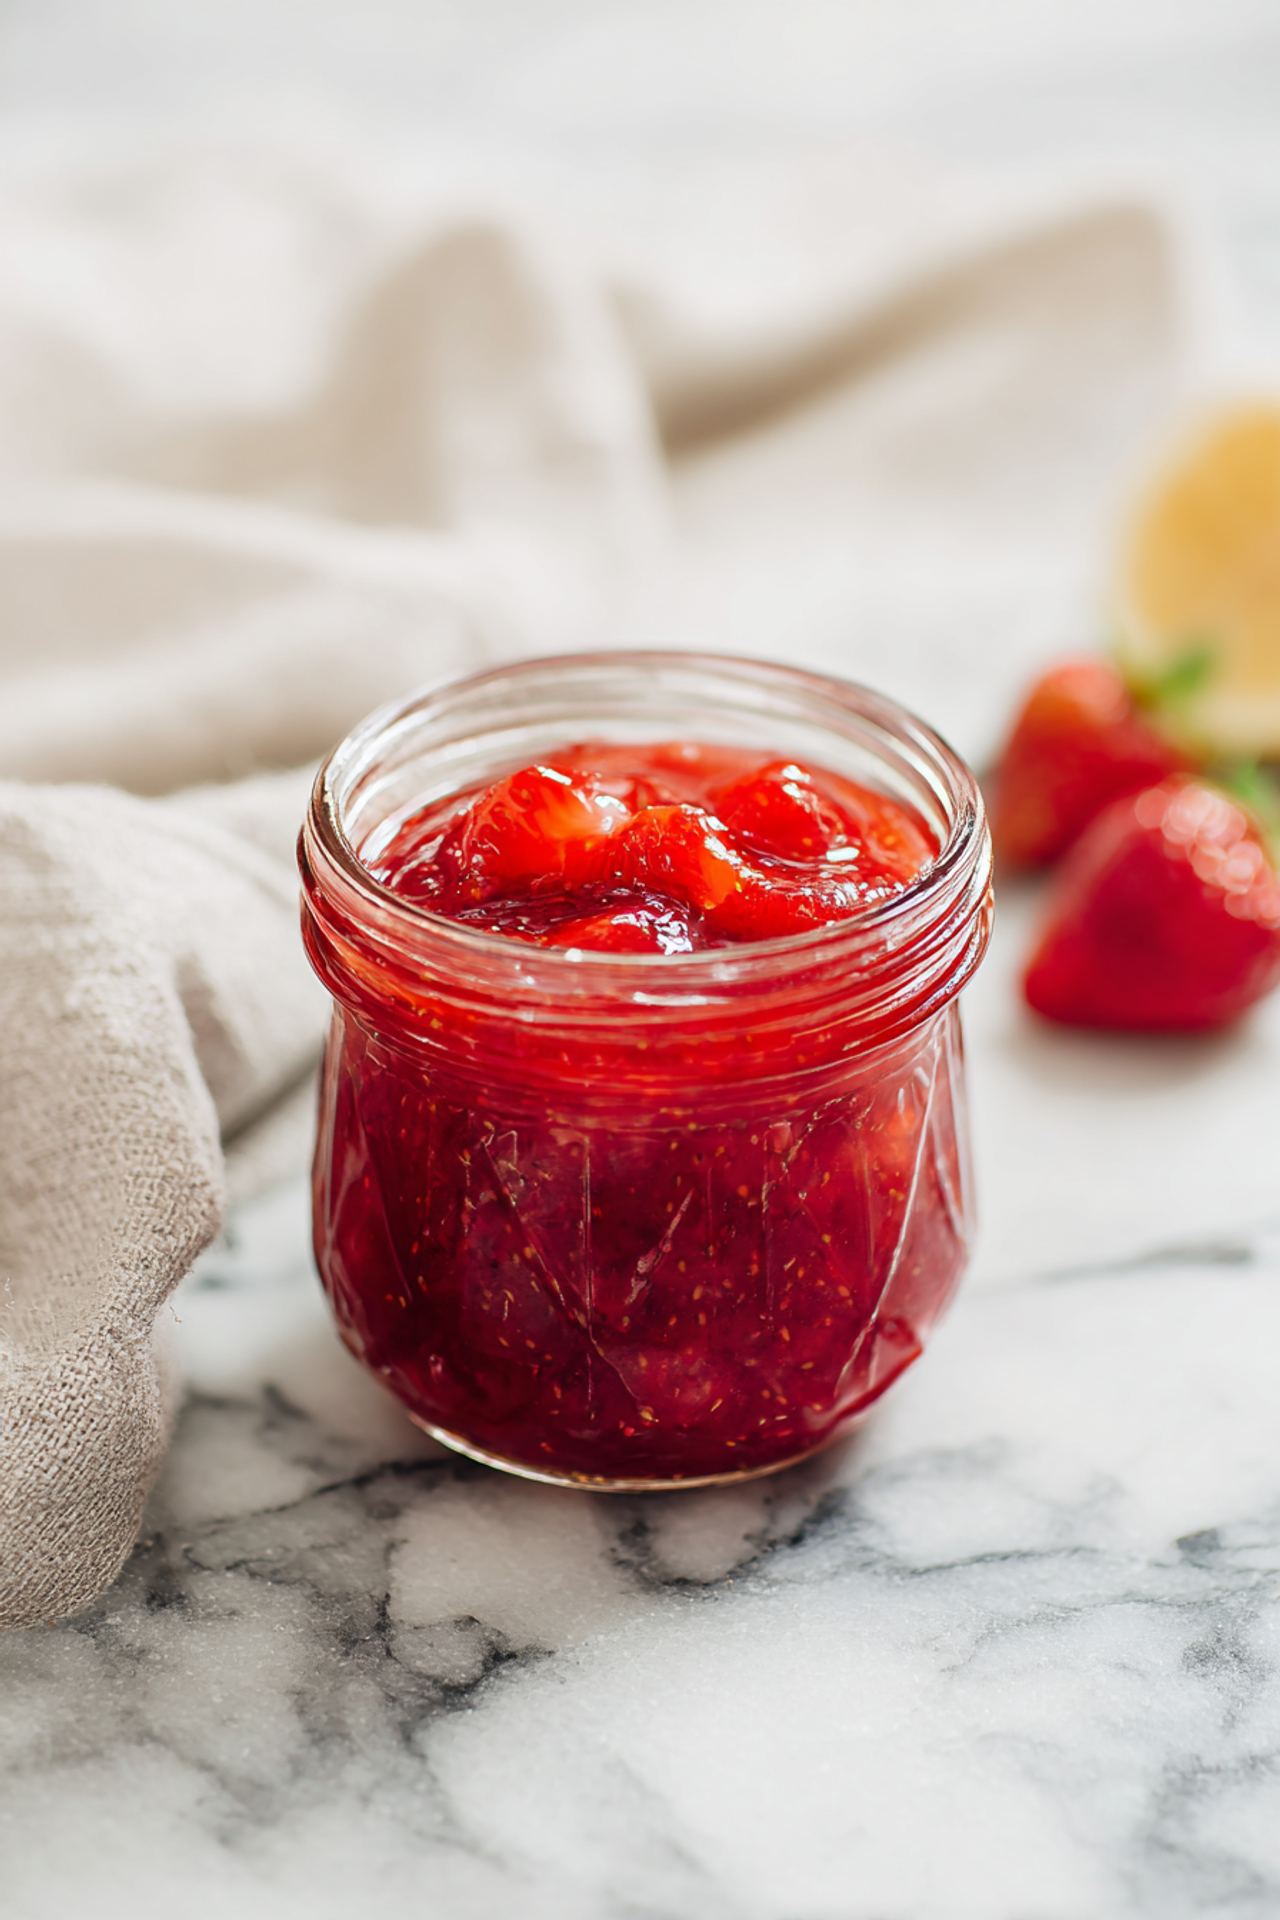
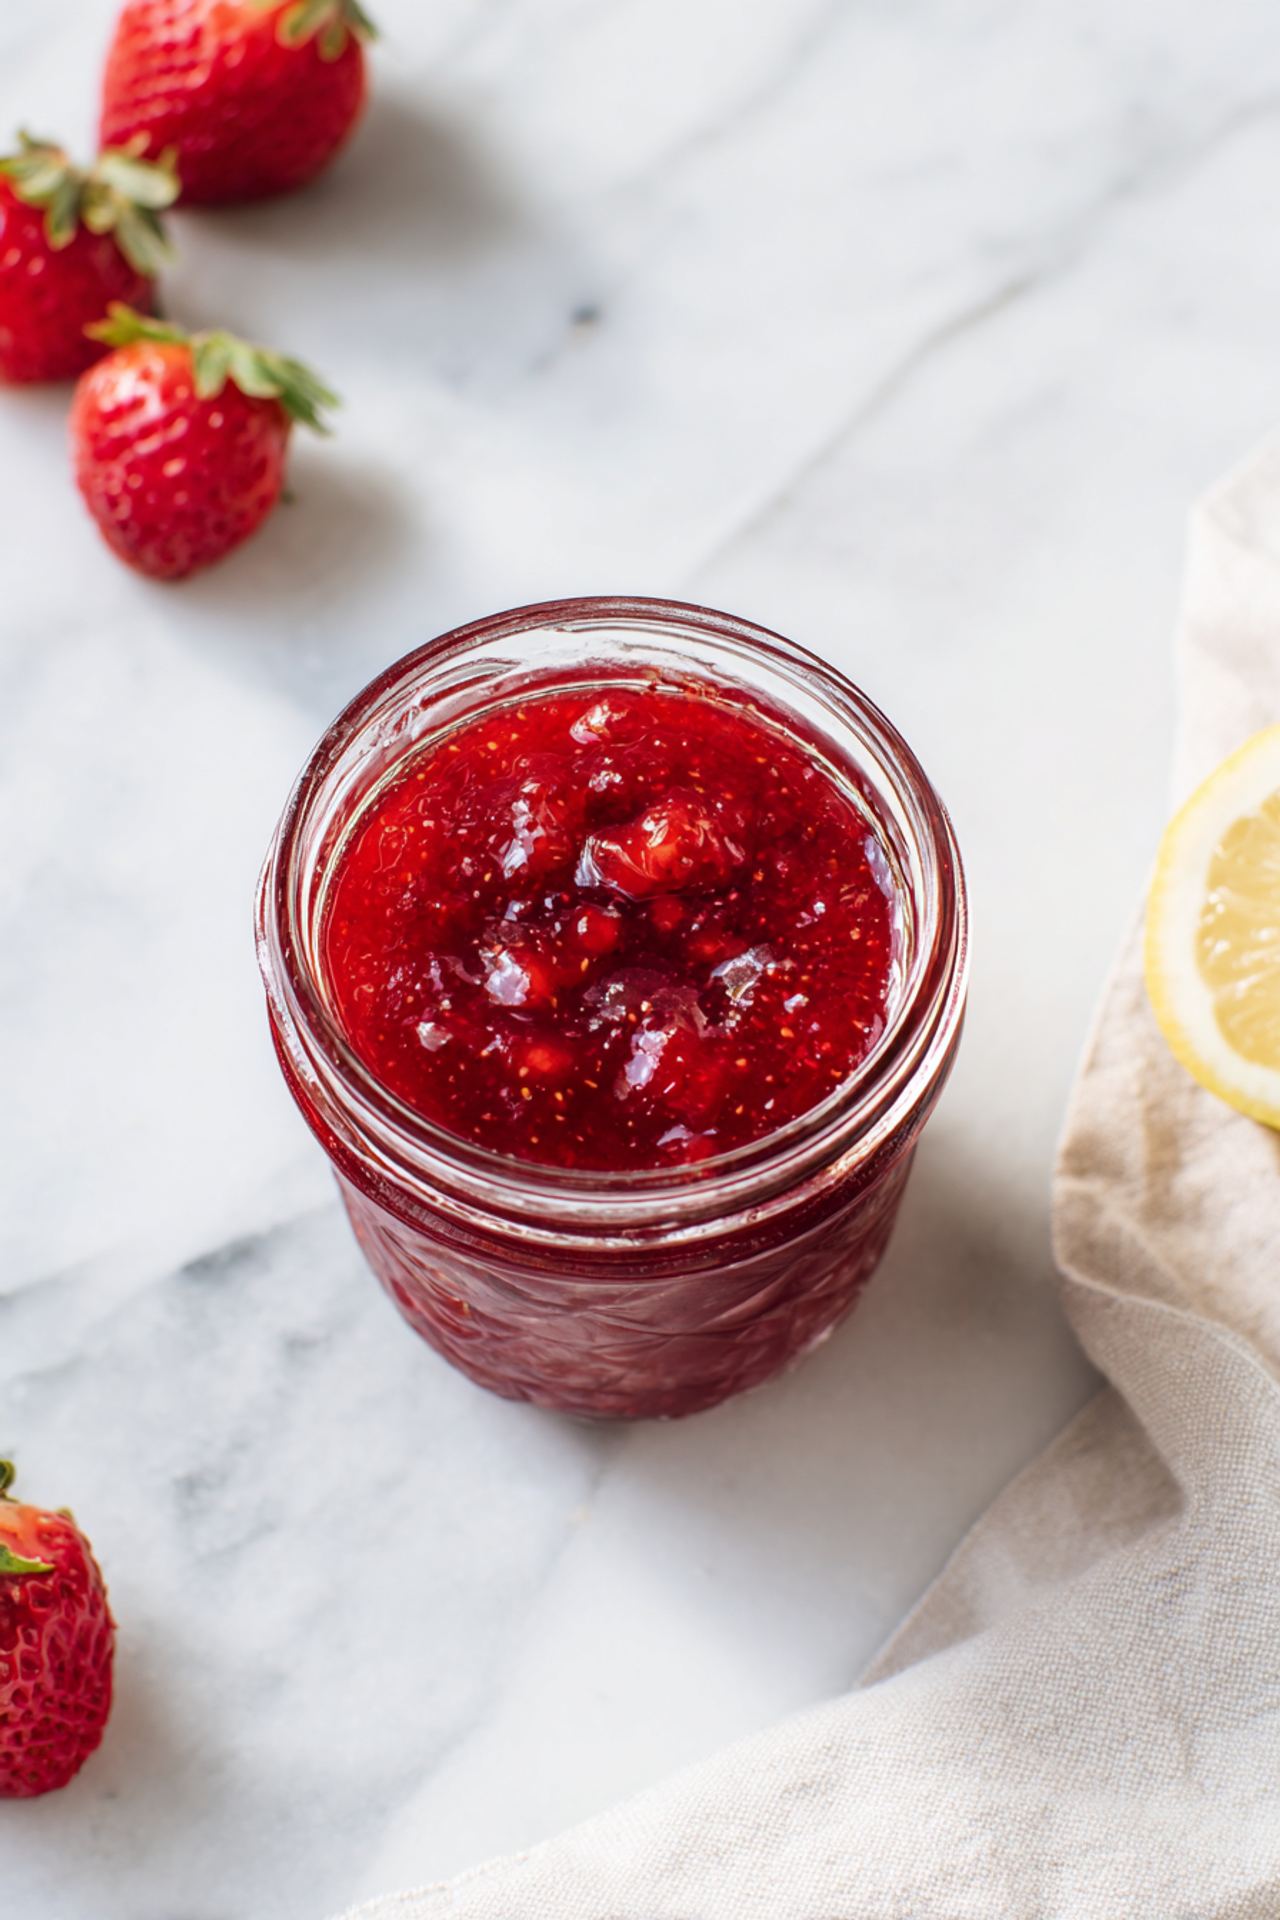
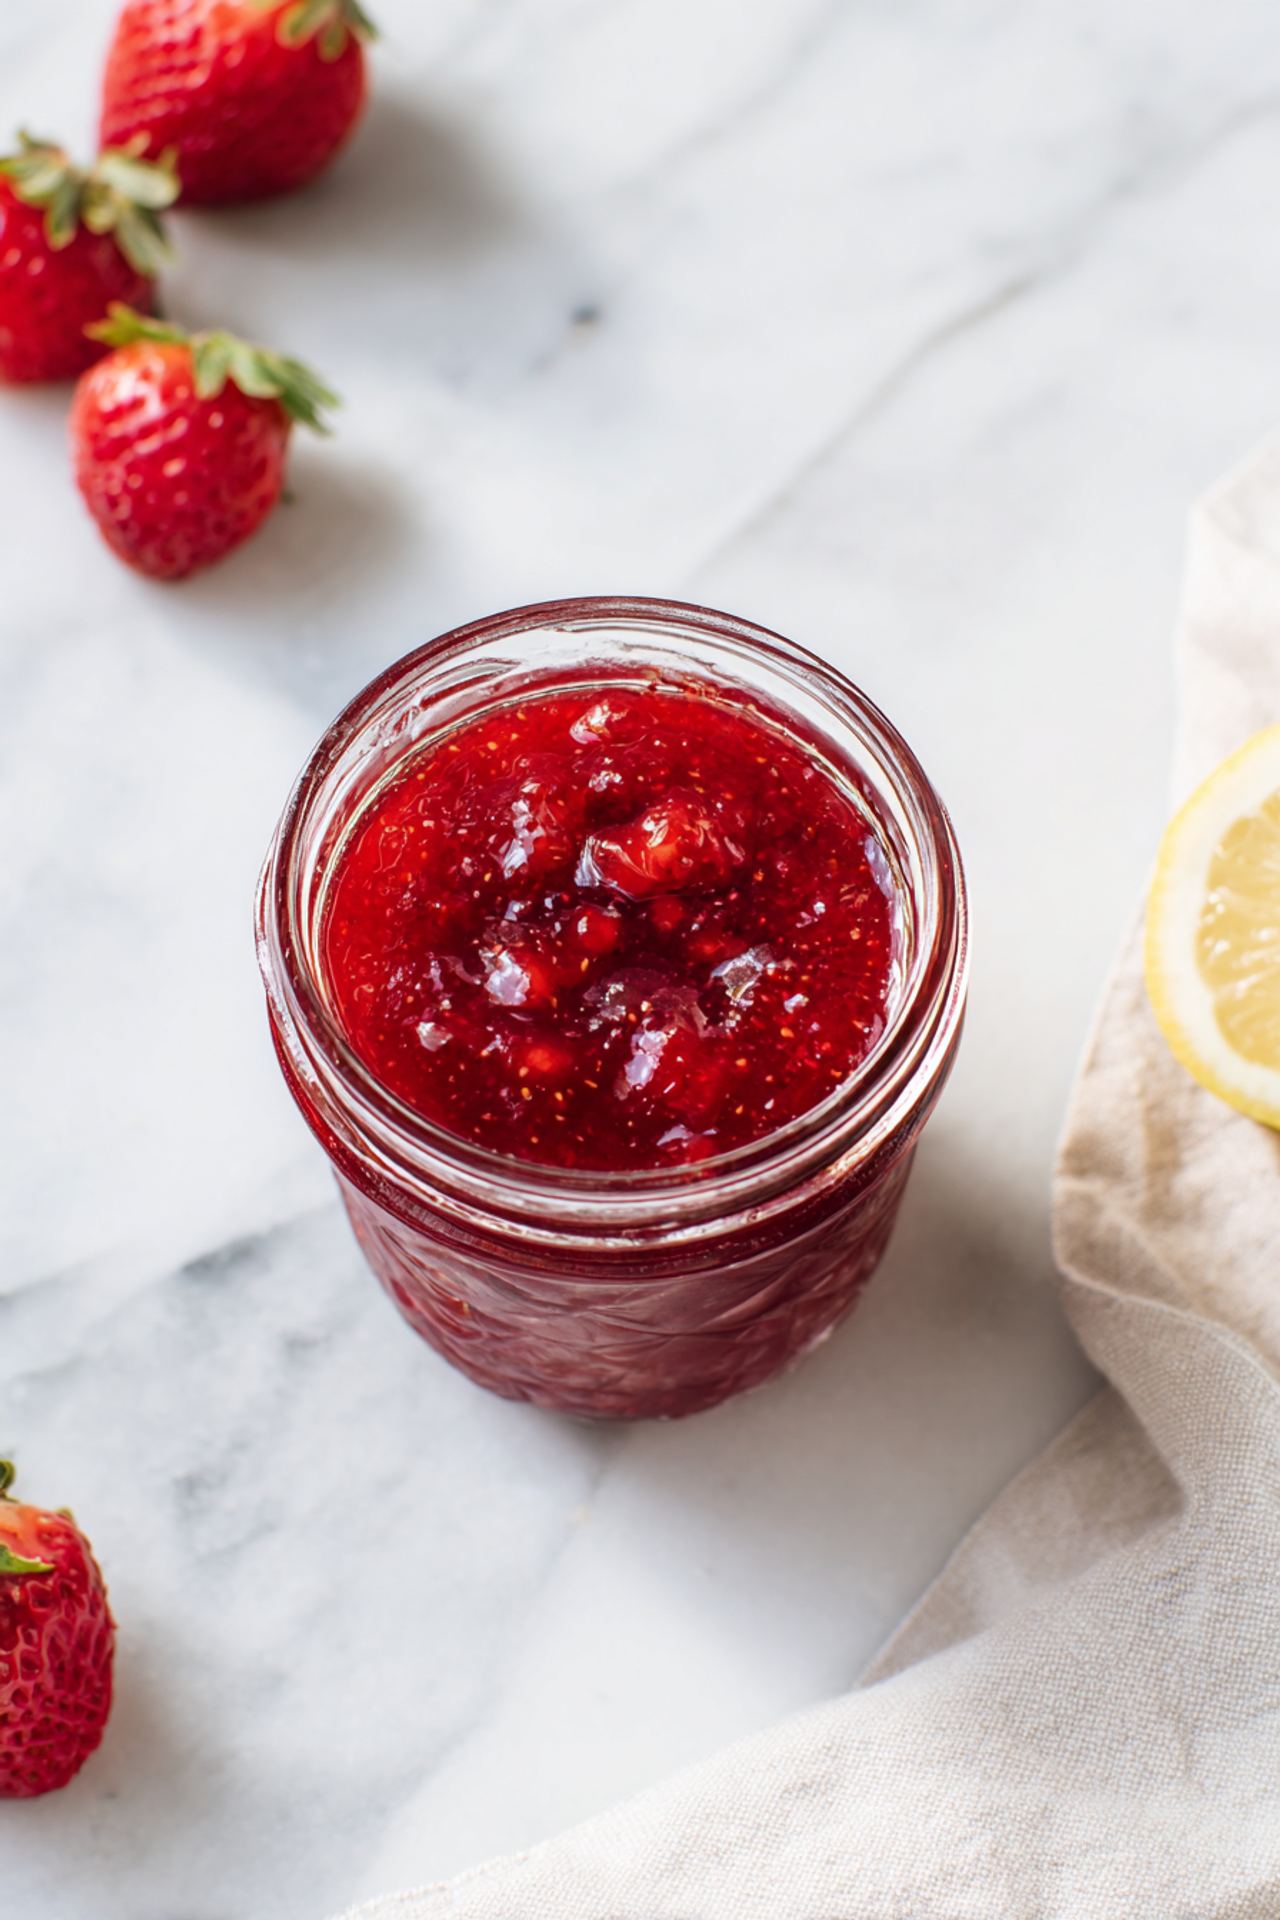
There’s something wonderfully old-fashioned about homemade strawberry jam. Fresh strawberries simmered with sugar and a little lemon juice turn into a bright, ruby-red spread with plenty of real strawberry flavor and a soft, spoonable texture.
Unlike many store-bought jams, this version doesn’t need to be complicated. You’ll only need a handful of ingredients, and you don’t need special canning equipment if you’re making a small batch to keep in the refrigerator.
I like making this when strawberries are plentiful and especially sweet. A jar in the fridge makes breakfast feel a little more special, whether you’re spreading it on warm toast, spooning it over yogurt, or using it between layers of a simple cake.
Why It Works
Strawberries contain natural pectin, but they don’t have as much as some fruits, so cooking them with sugar and lemon juice helps the jam thicken properly. The sugar also draws moisture from the berries, concentrating their flavor as the mixture cooks.
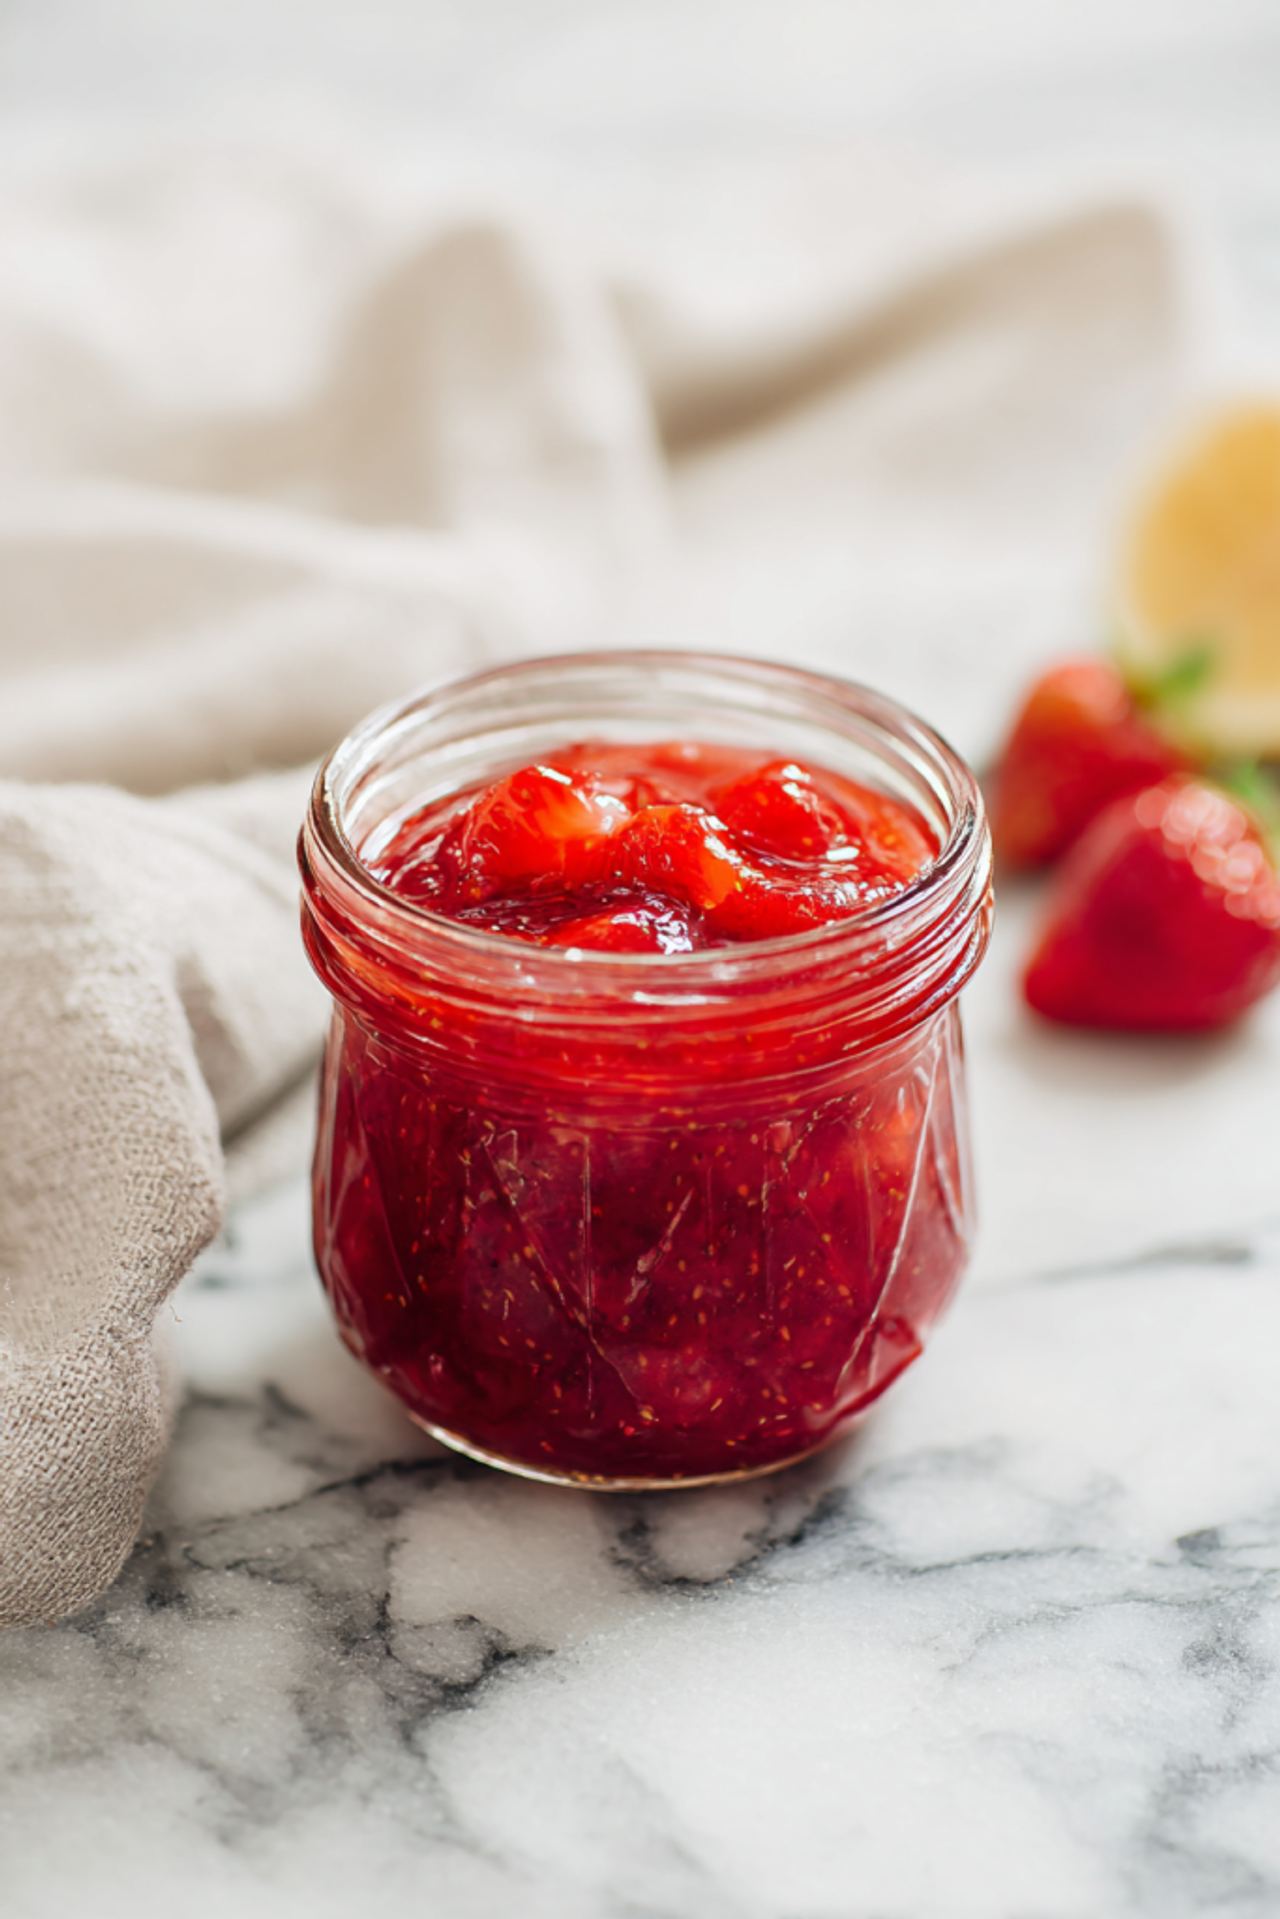
The lemon juice has another important job: it adds acidity that balances the sweetness and keeps the strawberry flavor tasting fresh rather than flat.
The key is not to rush the cooking. A gentle but steady simmer gives the berries time to break down while enough water evaporates for the mixture to become thick and glossy.
Ingredients You’ll Need
Fresh Strawberries
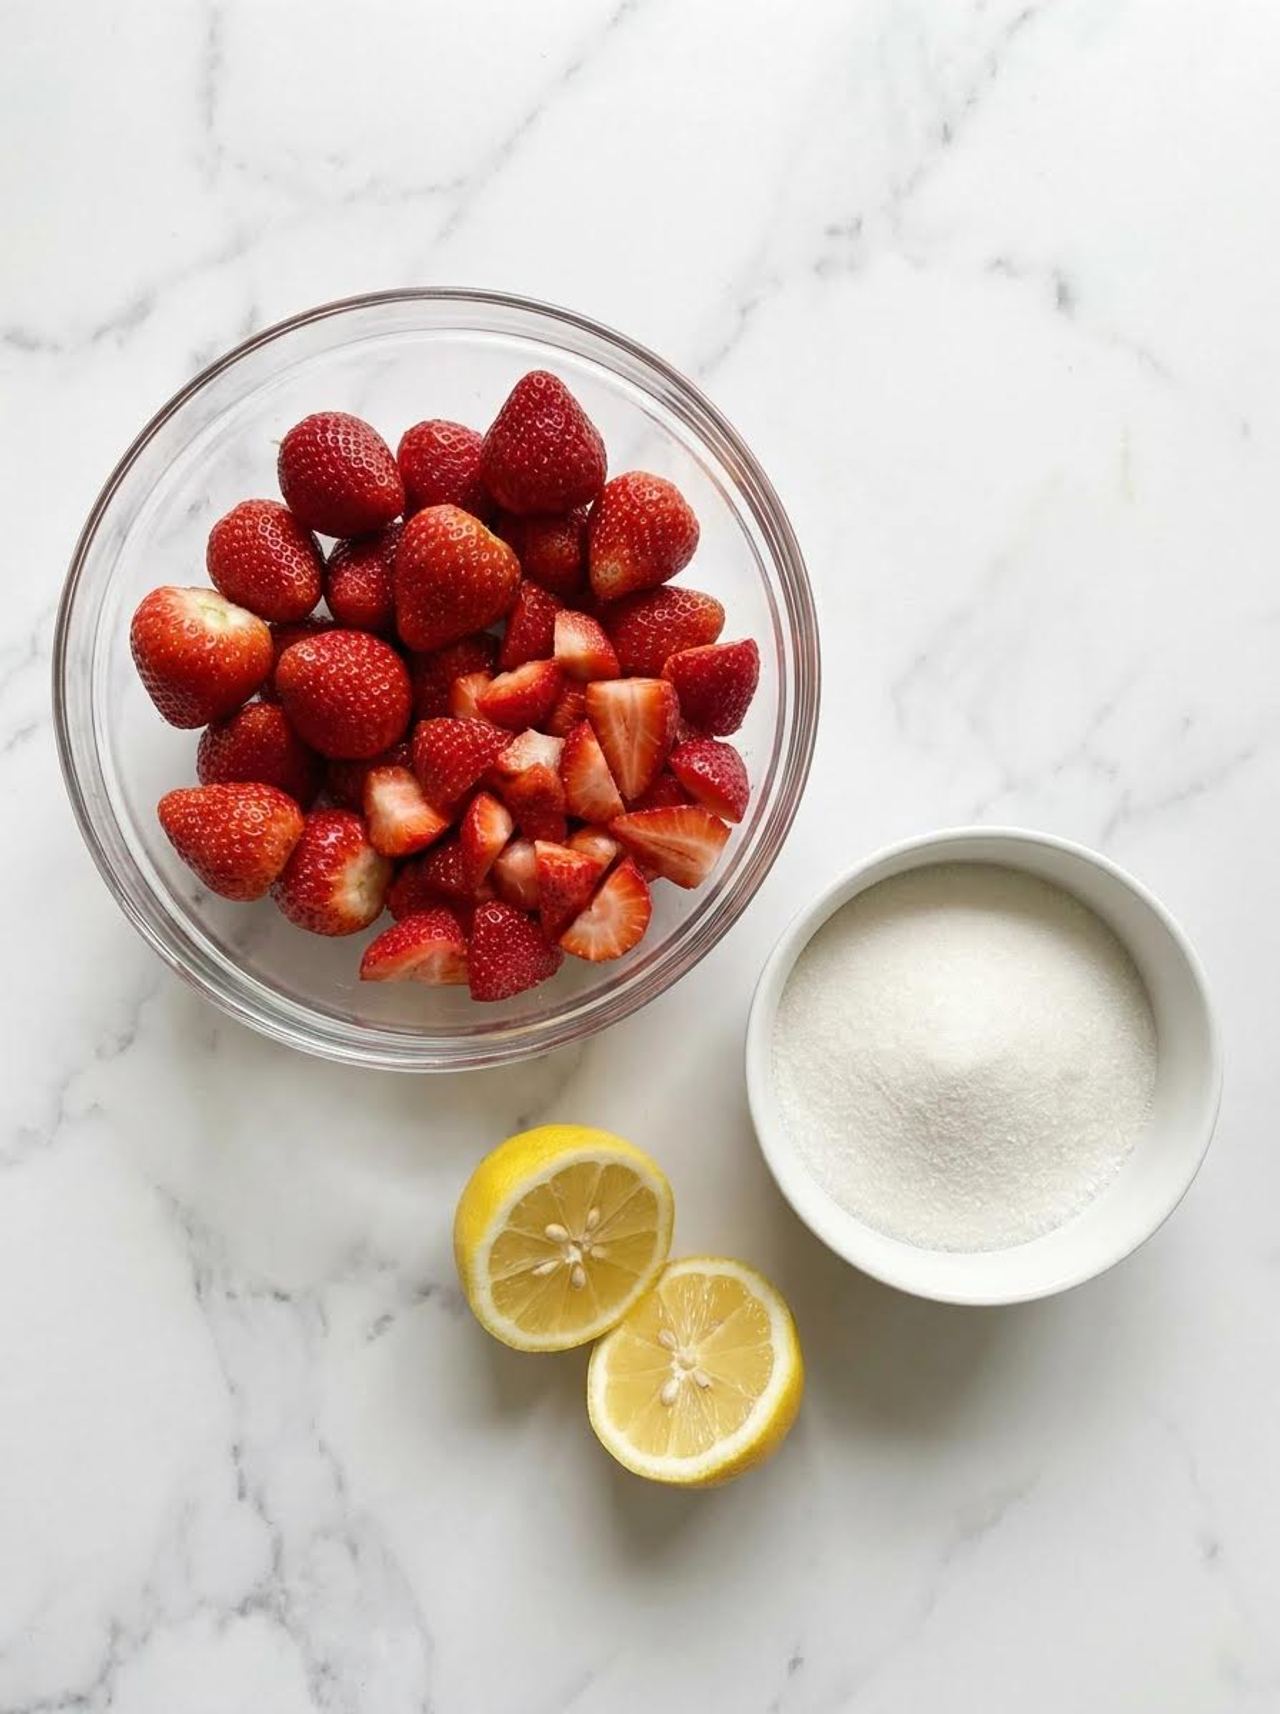
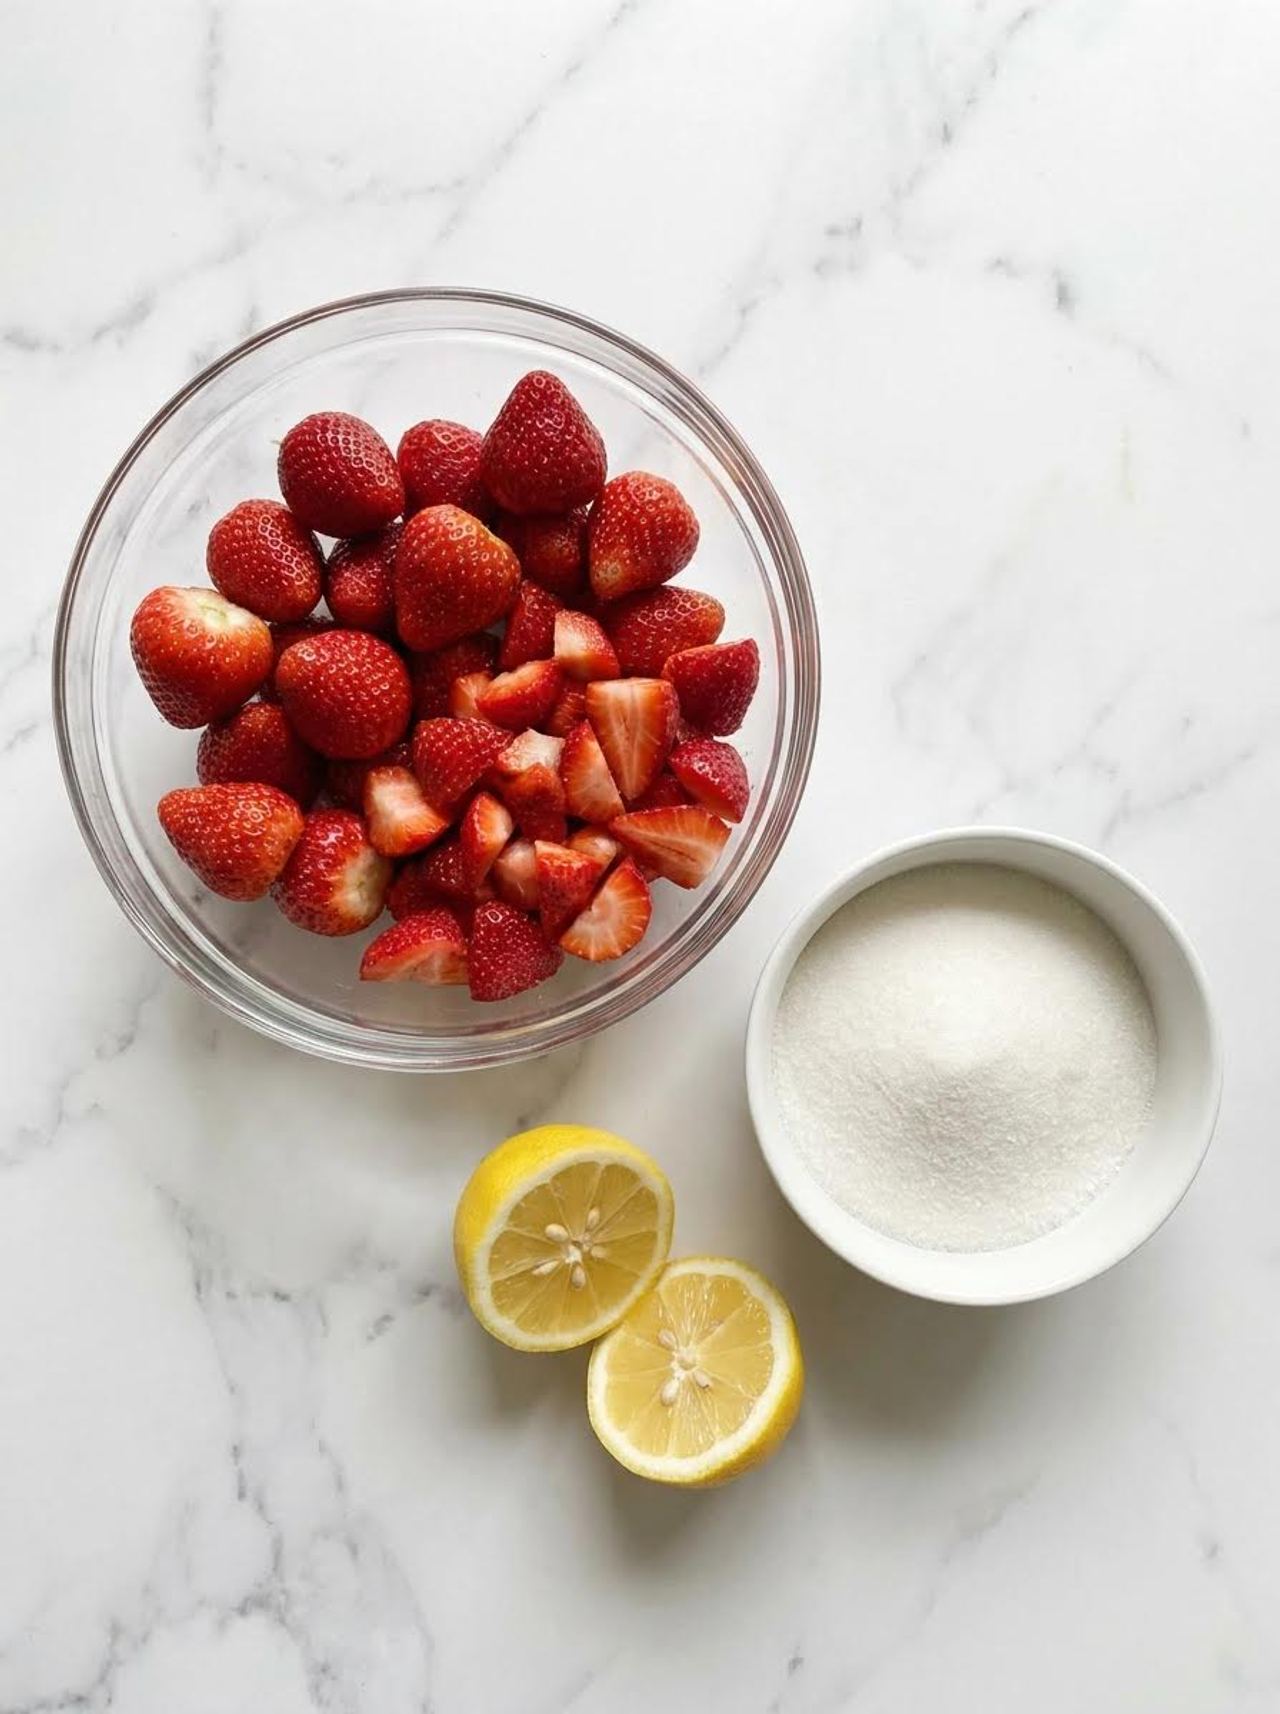
Use ripe, fragrant strawberries that are free from bruised or moldy spots. Wash them before hulling, then remove the green tops and cut larger berries into smaller pieces. Smaller pieces cook down more evenly.
Granulated Sugar
Sugar sweetens the jam and helps it set by drawing moisture out of the fruit. Don’t reduce it too aggressively, since the balance between fruit, sugar, and acidity affects both texture and preservation.
Lemon Juice
Fresh lemon juice adds acidity and helps the natural pectin work. It also keeps the finished jam from tasting overly sweet.
Optional Vanilla
A small splash of vanilla extract added at the end gives the jam a subtle dessert-like flavor. It’s completely optional, but it’s lovely if you’re planning to serve the jam with pancakes, waffles, or baked goods.
How To Make Homemade Strawberry Jam
Prepare The Strawberries
Place the hulled strawberries in a large saucepan and crush them lightly with a potato masher or the back of a wooden spoon. You can leave some larger pieces if you prefer a chunkier jam.
Add the sugar and lemon juice, then stir everything together.
Start Cooking
Set the saucepan over medium heat and bring the mixture to a gentle boil, stirring occasionally. As the strawberries heat up, they’ll release quite a bit of liquid and the mixture may become foamy.
Once bubbling, lower the heat slightly so the jam maintains a steady simmer. Stir more frequently as it thickens to prevent the fruit from sticking to the bottom.
Cook Until Thick
Continue simmering for about 20–30 minutes, depending on the amount of liquid in your berries and the size of your saucepan. The strawberries will soften considerably and the liquid will become darker, thicker, and glossy.
To test it, place a small spoonful on a chilled plate and let it sit for a few seconds. Push your finger through it; if the jam wrinkles slightly and doesn’t immediately run back together, it’s ready. Remember that it will thicken more as it cools.
Cool And Jar
Remove the saucepan from the heat and let the jam cool for a few minutes. If using vanilla, stir it in now.
Spoon the warm jam into a clean jar, leaving it uncovered until it has cooled enough to avoid trapping excess condensation. Once cool, cover and refrigerate.
FAQs
Can I Use Frozen Strawberries?
Yes. Frozen strawberries work well, although they usually release more liquid, so the jam may need a little extra cooking time. There’s no need to thaw them completely first.
How Do I Know When Strawberry Jam Is Done?
The chilled-plate test is more reliable than cooking strictly by the clock. The jam should look glossy and thick, and it should move slowly when you tilt the plate rather than running like syrup.
Why Is My Jam Too Runny?

It may simply need more cooking time. Return it to the saucepan and simmer it for several more minutes, then test again on a chilled plate.
Can I Make It Less Sweet?
You can reduce the sugar somewhat, but sugar plays a role in the jam’s texture as well as its sweetness. For a refrigerator jam, modestly reducing it is possible, though the finished spread may be softer.
Can I Leave The Strawberries Chunky?
Absolutely. Mash the berries lightly for a rustic, chunky jam, or crush them more thoroughly for a smoother spread. Avoid pureeing them completely unless you specifically want a very smooth texture.

Do I Need To Sterilize The Jars?
For a small refrigerator batch, use clean, thoroughly washed jars and utensils. This recipe is intended for refrigerated storage, not long-term shelf-stable canning.
Recipe Variations
Strawberry Vanilla Jam
Stir in ½ teaspoon of vanilla extract after removing the jam from the heat for a softly sweet, almost dessert-like flavor.

Strawberry Basil Jam
Add a few finely chopped fresh basil leaves during the last couple of minutes of cooking. The herb adds a fresh contrast to the ripe berries.
Strawberry Balsamic Jam
Add 1–2 teaspoons of balsamic vinegar near the end of cooking. It won’t make the jam taste strongly of vinegar; instead, it gives the strawberries a deeper, more complex flavor.
Strawberry Rhubarb Jam

Replace about one-third of the strawberries with finely chopped rhubarb. The rhubarb brings a pleasant tartness and works especially well with the sweetness of the berries.
Strawberry Black Pepper Jam
Add a tiny pinch of freshly ground black pepper at the end. It sounds unusual, but just a little gives the strawberries extra depth without making the jam spicy.
Storage
Keep homemade strawberry jam in a clean, covered jar in the refrigerator and use a clean spoon each time. For the best quality, use it within about 2–3 weeks. You can also freeze the cooled jam in freezer-safe containers, leaving some room for expansion, for longer storage.

What To Serve With Homemade Strawberry Jam
This jam is made for more than toast. Spread it over warm biscuits, English muffins, croissants, pancakes, or waffles, or swirl a spoonful into plain Greek yogurt or oatmeal. It’s also delicious alongside peanut butter in a sandwich, layered into a simple sponge cake, spooned over cheesecake, or served with a little cream and fresh strawberries for an easy dessert.
Let the jam cool before judging its final texture—it will always seem looser when it’s hot. If you prefer a thicker spread, simply cook it a little longer and test it again rather than guessing by appearance alone.
This Homemade Strawberry Jam is sweet, fresh, and bursting with real strawberry flavor. Made with simple ingredients, it’s perfect for spreading on toast, biscuits, pancakes, or adding to your favorite desserts.
Ingredients

- 2 pounds fresh strawberries, hulled and chopped
- 1 ½ cups granulated sugar
- 2 tablespoons fresh lemon juice
- 1 teaspoon lemon zest
- 1 teaspoon vanilla extract, optional
Instructions
- Add the chopped strawberries, sugar, lemon juice, and lemon zest to a large saucepan. Stir well and let the mixture sit for about 5 minutes so the strawberries begin releasing their juices.
- Place the saucepan over medium heat and bring the mixture to a gentle boil, stirring occasionally.
- Reduce the heat slightly and simmer for 20–25 minutes, stirring frequently. As the jam cooks, skim off any foam that forms on the surface.
- To check if the jam is ready, place a small spoonful on a chilled plate. Let it sit for a few seconds, then gently push it with your finger. If it wrinkles slightly and doesn’t immediately run, it’s ready.
- Remove the saucepan from the heat and stir in the vanilla, if using.
- Let the jam cool for 10–15 minutes, then transfer it to clean jars. The jam will thicken further as it cools.
- Store in the refrigerator and enjoy on toast, biscuits, pancakes, or yogurt.
More Dishes
5 Smoothie Recipes

Dulce De Leche Cheesecake Recipes {Caramel Almond Cheesecake Bites & Strawberry Jam Cheesecake} and a free holiday printable tag
10 Lunch Recipes
12 Fall Recipes
Previous Post:
« California Spaghetti Salad

Next Post:
Upside-Down Caramelized Onion Tarts »
Reader Interactions
Leave a Reply
Cancel reply

Your email address will not be published.
Required fields are marked *
Recipe Rating
Recipe Rating
Comment *

Name *
Email *
Website
Save my name, email, and website in this browser for the next time I comment.
×
Log In
Email Or Username
Password
Remember Me
Forgot Password?
Not registered yet? Create an Account
Copy link
✓
Thanks for sharing!
Find any service
AddToAny
More…
DO NOT SELL OR SHARE MY PERSONAL INFORMATION